Our assortment
Instructions for planting
Instructions for planting Please find here important indications for the plantation of different delivery forms of roses. You may also download our technical instructions (instructions of planting) as PDF files.
How to plant bare-root roses!
PDF-Download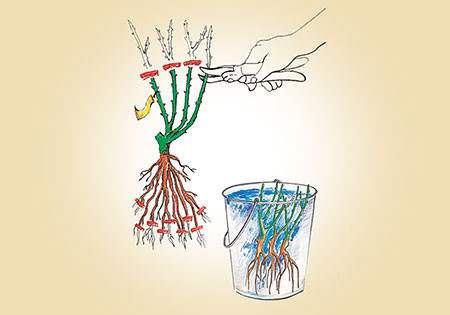
1. Pruning of the canes
Prune the canes to 6 - 8 inches (15– 20 cm) in length. Then prune the tips of the roots lightly. Before planting soak the rose plant entirely in a bucket of water for 12–24 hours. This is extremely important for spring plantings.
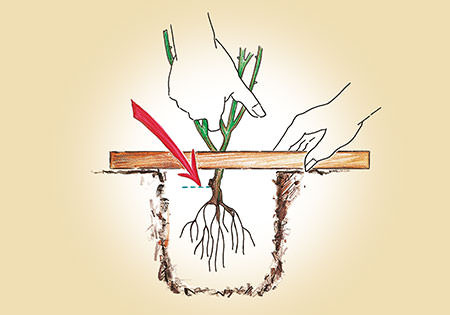
2. Loosen the soil
Loosen the soil and dig a hole that is large enough for the plant. The graft union (knob between roots and branches) has to be planted up to 2 inches (5 cm) below the surface.
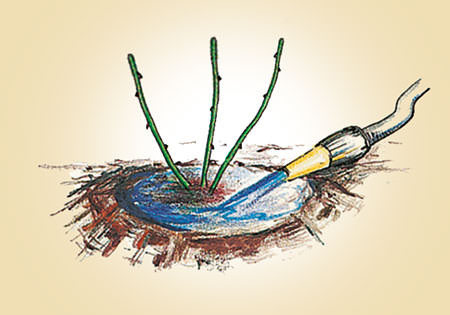
3. Planting
Fill the hole with the soil you have on hands, firmly press with your boots and water abundantly to ensure soil contact of the roots. Additional watering is necessary when the climate in spring is very hot and dry. Not water too much as the roots may not get enough oxygen and may suffocate.
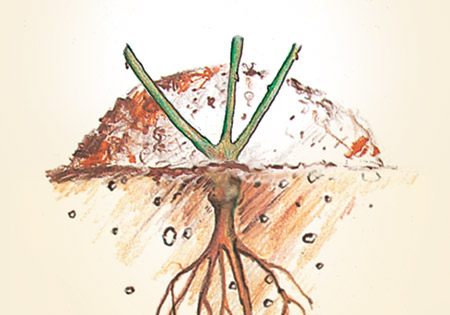
4. Cover in spring and autumn
Rose plants have to be covered after the planting with soil. Only the points of the canes can be seen, this is the best protection against evaporation by wind, sun or frost. When planting in spring the soil can be carefully removed 4-8 weeks later, when the new canes have achieved a length of 4 inches (10 cm).
Stem roses have to be covered in autumn and spring with fir branches, jute or fleece. This is absolutely necessary to prevent evaporation. In spring the protection can be removed after 3 - 4 weeks.
Plant-o-fix®-System
PDF-Download
1. Preparation
Take the roses out of the parcel. Remove the black lid and the photo label. Turn the pot and push it gently open using an edge. The brown, biodegradable inner pot will come out of the outer pot with the plant in it. Please do not pull or drag the plant out. Just check if the soil is humid, if not you may water. If there are white roots coming out of the pot, do not destroy them!
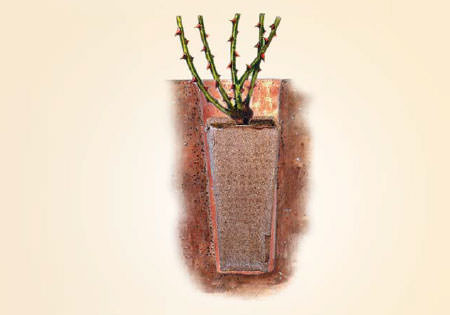
2. Planting
The biodegradable pot shall be planted directly with the plant inside as it will decompose later in the soil. The graft union (knob between roots and branches) shall be 2 inches (5 cm) below ground level after the planting. Carefully fill the plant hole with soil and compress with your boots. Do not put fertilizer in the plant hole!
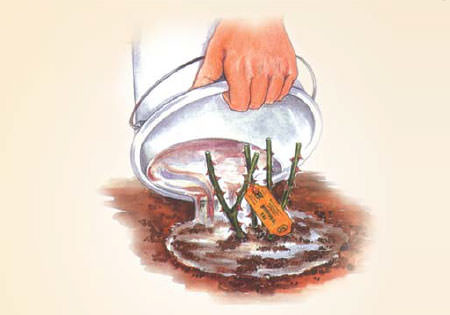
3. Covering and watering
Water the plant sufficiently to ensure soil contact of the roots. Then earth up with an additional 4 inches (10 cm) of soil (even more important in spring when the plant has no leaves). Only remove the mound when the new shoots are clearly visible. You may water additionally when the spring is very warm and dry. Too much watering is dangerous as the roots may not receive enough oxygen and may suffocate.
How to plant container roses
PDF-Download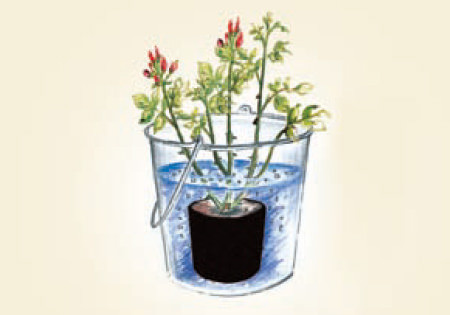
1. Draining
Please put the whole pot - even if the weather is rainy - for two minutes in a bucket of water, until you see no more air bubbles. After draining please remove the plastic pot and also the label, because it could grow in and damage the plant.
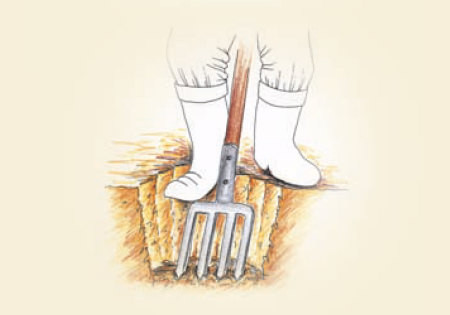
2. Preparation
The hole for the plantation for container roses must be the double in width and depth than the root ball. Before planting please loosen walls and ground of the hole with a gardening fork. The soil you want to fill in the hole can be improved with garden compost.
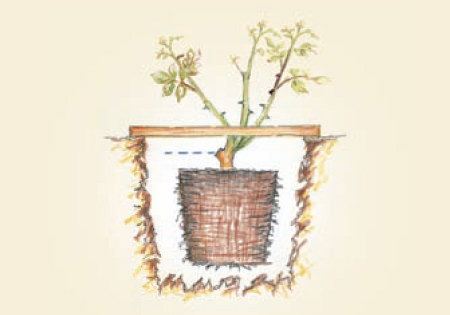
3. Planting
It is important for the depth of the planting hole that it has to be planted 2 inches (5 cm) below surface. Don’t be irritated when the graft union is above the soil when you buy the container. In your garden it has to be planted 5 cm below surface. Put the plant in the hole and fill it with the soil you have taken out and water sufficiently. A little embankment around the plant may help to keep water around the plant.
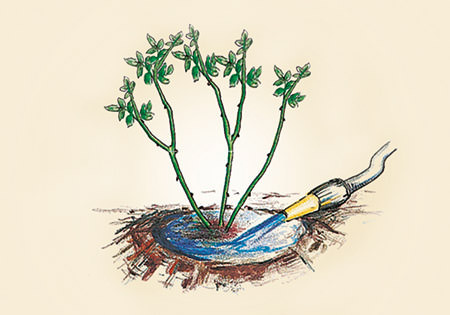
4. Watering
Especially when planted in summer container roses may easily dry out, therefore water regularly and sufficiently.

